The biometric machine has been delivered. It’s sitting in its box on the reception desk, the vendor has sent a login for the software, and everyone is asking the same question: “So, from when do we start?”
This is the point where many businesses rush. The device goes up on the nearest wall, a few people get registered, and the old register is put away. Two weeks later, punches are missing, late marks look wrong, half the team hasn’t been enrolled, and HR is back to Excel.
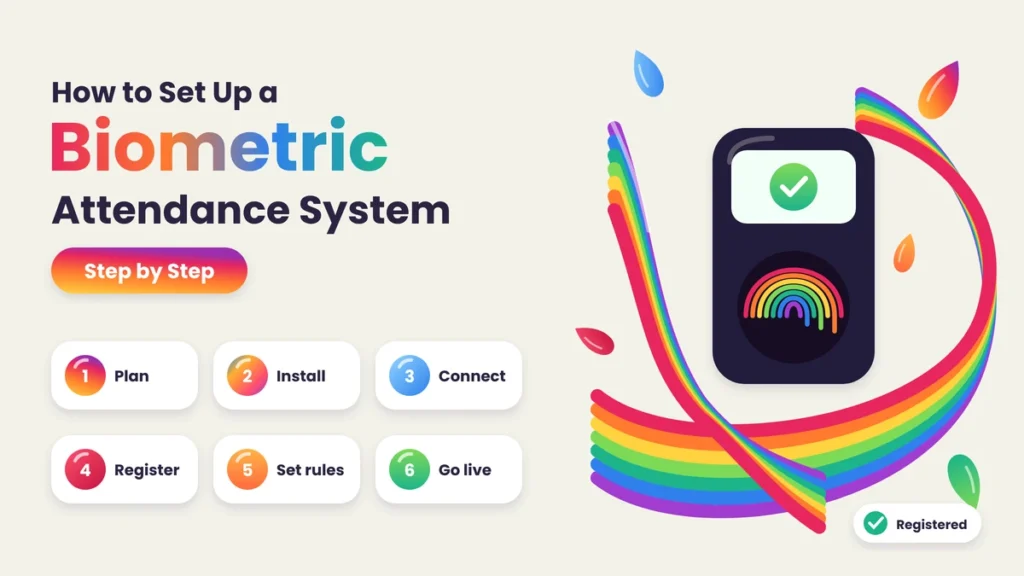
A smooth setup takes a little planning, but it isn’t complicated. This guide walks you through setting up a biometric attendance system in six simple steps: plan, install, connect, register, set rules and go live. Follow them in order and your system will work properly from the first day.
Quick answer: To set up a biometric attendance system, first plan your rules, entrances and timeline. Install the device at a well-lit, powered spot near the main entrance. Connect it to your attendance software over Wi-Fi, LAN or 4G and check the date and time. Register every employee with matching employee IDs. Set your rules for shifts, grace time, late marks, half days, overtime, leave and holidays. Finally, run it alongside your old method for a week, fix any issues and then go live fully.
What You Need Before You Start
Gather these before the installation day:
- The device or devices, one for each entrance or branch.
- A login for your attendance software, usually a cloud account.
- A power point near the mounting spot, ideally with a small UPS for backup.
- Internet access, through Wi-Fi, a LAN cable or a 4G SIM.
- An up-to-date employee list in Excel with employee ID, name, department, branch, shift and joining date.
- Your attendance policy, with office timings, grace time, half-day rules, overtime and leave types.
- Consent forms or a digital consent process for biometric data.
- One person in charge, usually from HR or admin, who owns the setup from start to finish.
You can find more on choosing devices in our biometric attendance guides.
Before vs Now: Attendance Before and After a Proper Setup
| Area | Before (register or rushed setup) | Now (planned biometric setup) |
|---|---|---|
| Recording time | Written by hand or patchy punches | Exact time recorded for every punch |
| Employee records | Missing or duplicate IDs | One clean ID for every employee |
| Device data | Stuck in the machine | Synced to the cloud automatically |
| Internet cuts | Punches lost | Stored offline and synced later |
| Rules | Applied by hand, often inconsistently | Set once and applied automatically |
| Shifts and holidays | Tracked separately | Built into the system |
| Missed punches | Guesswork at month end | Correction requests with approval |
| Reports | Prepared manually | Ready daily and monthly |
| Payroll | Re-typed from registers | Exported directly |
| Employee confidence | Doubts about records | Clear records they can check |
Step 1: Plan Your Setup
A short planning session saves weeks of fixing problems later.
- Write your attendance rules: office timings, shift timings, grace time, when a late mark applies, what counts as a half day, how overtime is calculated and approved.
- Map your entry points: list every entrance staff use, including side gates and parking entrances, and every branch that needs a device.
- Decide who does what: who installs the device, who manages the software, who registers employees and who approves corrections.
- Choose a go-live date: ideally the start of a month or a pay cycle, so the first full month of data is clean.
- Plan communication: decide how you’ll inform employees, explain the change and collect consent.
Keep this plan to one page. It becomes your checklist for the rest of the setup.
Step 2: Install the Device
Where and how you mount the device matters more than most people think.
- Pick the right spot: at the main staff entrance where everyone passes naturally, with enough space for a short queue.
- Mount it at a comfortable height: around chest to face height for most people, so fingers or faces line up easily.
- Watch the lighting: for face recognition, avoid bright windows or sunlight behind the person. Light should fall on the face, not behind it.
- Protect it from the weather: for gates or outdoor areas, use a cover or shade to keep rain and direct sun off the device.
- Keep power close: use a nearby socket and a small UPS so the device keeps working during short power cuts.
- Mount it firmly: use proper wall anchors, and keep cables neat and out of reach.
If you have several entrances, install and test one device first, then repeat for the others.
Step 3: Connect It to Your Attendance Software
A device that isn’t connected properly is just an expensive clock.
- Connect to the network: use Wi-Fi, a LAN cable or a 4G SIM, depending on what’s most reliable at that spot.
- Add the device in the software: most systems ask for a device serial number or code. Name each device clearly, such as “Head Office Main Gate”.
- Set the date, time and time zone: wrong time settings are one of the most common causes of incorrect late marks.
- Assign the device to a branch or location: so punches appear under the right office.
- Do a test punch: register one admin user, punch in and check that the record appears in the software within a few seconds or minutes.
- Test offline mode: disconnect the internet briefly, make a few punches, reconnect and check that they sync correctly.
Once one device works end to end, you can connect the rest the same way.
Step 4: Register Your Employees
Registration is where most setups slow down, so plan it well.
- Import the employee list: upload your Excel sheet into the software so every employee has a clean record with the correct ID, department, branch and shift.
- Match IDs exactly: the employee ID on the device must match the ID in the software. A mismatch means punches won’t link to the right person.
- Collect consent: inform employees about what biometric data is collected, why and how it’s protected, and take their consent before registering them.
- Register in batches: schedule departments or shifts at set times so registration doesn’t disturb work.
Tips for fingerprint registration: – Ask people to wash and dry their hands first. – Register two fingers per person, in case one is injured later. – Press the finger flat in the centre of the sensor, not just the tip.
Tips for face registration: – Register in normal lighting, facing the camera. – Ask people to look as they usually do on a working day, with their usual glasses or head covering. – Avoid hats or sunglasses during registration.
Keep a simple tracker of who’s registered and who isn’t, and follow up with anyone who was on leave or travelling.
Step 5: Set Your Attendance Rules
This step turns raw punches into useful attendance data. Enter the rules from your plan into the software:
- Shifts: start and end times for each shift, including night shifts that cross midnight.
- Grace time: how many minutes after start time still count as on time.
- Late marks and early exits: when they apply and whether repeated late marks lead to deductions.
- Half days: minimum hours for a full day and a half day.
- Overtime: when extra hours count as overtime and who approves them.
- Weekly offs: fixed or rotating, by team or by employee.
- Holidays: national, state and company holidays for each branch.
- Leave types: casual, sick, earned and others, with balances and approval flows.
- Corrections: how employees request a fix for a missed punch, who approves it and within how many days.
- Notifications: alerts for managers about absences, late arrivals or pending approvals.
Our attendance management guides explain these rules in more detail.
Step 6: Test and Go Live
Don’t switch off the old system on day one. Run both for a short time.
- Run in parallel for about a week: employees punch on the device and continue the old method.
- Compare the results daily: check that punches, late marks, half days and leave match what you expect.
- Fix issues quickly: unregistered employees, wrong shifts, time settings or missing holidays.
- Announce the go-live date: tell everyone when the old register will stop.
- Go live fully: retire the register or old system so there’s only one record.
- Connect to payroll: once a full month is clean, export attendance data to payroll. Our payroll and working hours section explains how this link works.
The First 30 Days After Go-Live
The first month decides whether the system becomes a habit.
- Check the daily report every morning for absences, missed punches and late marks that look wrong.
- Approve correction requests promptly so they don’t pile up at month end.
- Help people who struggle, for example by re-registering a finger or face in better conditions.
- Clean the device regularly, especially fingerprint sensors.
- Collect feedback from managers and employees and adjust rules if something isn’t working.
- Review the first month’s data carefully before running payroll.
How to Explain the Change to Employees
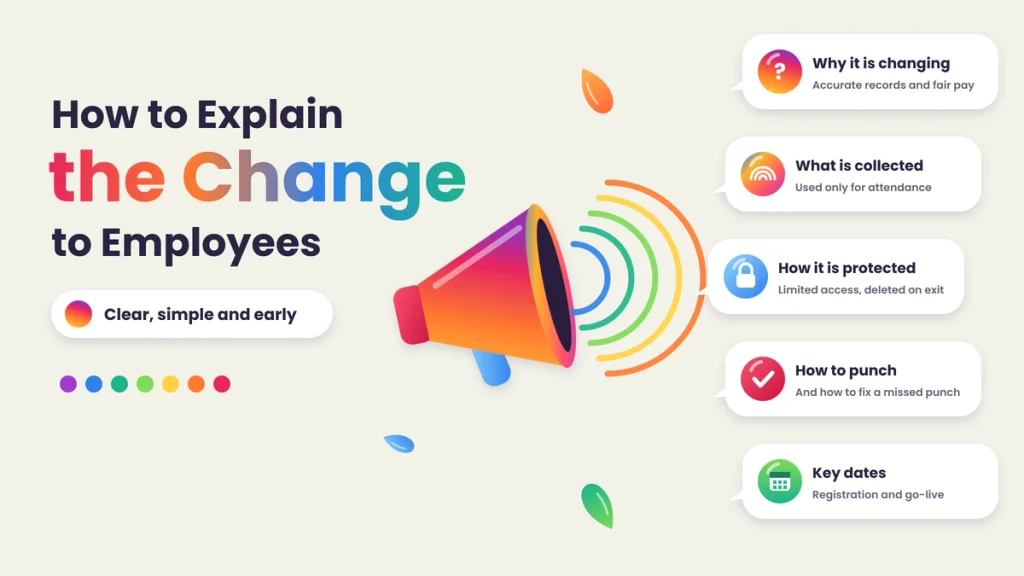
People accept a new system faster when they understand it. A short meeting or a clear message before registration day goes a long way.
- Tell them why: accurate records, fewer disputes over late marks and faster, correct salary.
- Tell them what’s collected: a fingerprint template or face data used only for attendance, not photos shared with anyone.
- Tell them how it’s protected: who can access the data, where it’s stored and that it’s deleted when they leave.
- Show them the steps: how to punch in and out, what to do if a punch fails and how to request a correction.
- Share the dates: registration day, the parallel week and the go-live date.
Answer questions openly. When employees see that the system protects them from wrong late marks too, most of the doubt goes away.
Setting Up Multiple Branches
If you have more than one office, warehouse or site, set up the head office first and treat it as your model.
- Name devices by location so reports clearly show where each punch came from.
- Set holidays per branch, since state holidays differ across India.
- Assign shifts per branch if timings differ between locations.
- Choose a local contact at each branch who can help with registration and small issues.
- Roll out one branch at a time, using what you learned at the head office to move faster.
Teams that work in the field or travel between sites may not pass a fixed device every day. For them, a mobile option such as face check-in on a phone with location or QR code attendance at the site can work alongside the wall device.
Common Mistakes to Avoid
- Mounting the device facing a bright window or in direct sun.
- Skipping the test punch and the offline sync check.
- Typing employee IDs by hand on the device instead of importing them.
- Registering only one finger per person.
- Going live before shifts, holidays and grace time are set.
- Switching off the old register on the first day.
- Leaving correction requests until the end of the month.
- Not telling employees why the change is happening.
Troubleshooting Common Setup Problems
Punches aren’t showing in the software
Check the internet connection, make sure the device is added and assigned in the software, and confirm the device is set to sync automatically.
Late marks look wrong
Check the device’s date, time and time zone, and confirm each employee’s shift and grace time in the software.
A fingerprint doesn’t read
Clean the sensor, ask the employee to dry their hands and press flat, and re-register the finger. If it still fails, register another finger or use face recognition.
Face recognition fails for some people
Check the lighting around the device, avoid bright backlight and re-register the person in normal light and their usual appearance.
Punches appear under the wrong person
The employee ID on the device doesn’t match the ID in the software. Correct the mapping and check for duplicate IDs.
Punches appear under the wrong branch
The device is assigned to the wrong location in the software. Update the device’s branch setting.
Your Setup Checklist

- Attendance rules written and agreed.
- All entrances and branches mapped.
- Devices installed with power backup.
- Devices connected and showing correct time.
- Test punch and offline sync working.
- Employee list imported with matching IDs.
- Consent collected.
- All employees registered.
- Shifts, grace time, late marks, half days and overtime set.
- Weekly offs, holidays and leave types set.
- Correction process and approvers set.
- One week of parallel running completed.
- Go-live date announced and old register retired.
Final Thoughts
Setting up a biometric attendance system isn’t about the minute the device goes up on the wall. It’s about the small decisions around it: where it’s placed, how it connects, whether every employee is registered correctly and whether your rules are clear before the first punch.
Plan, install, connect, register, set rules and go live. Take each step in order, test as you go and give the first month a little extra attention. Do that, and the box that arrived at reception becomes a system your whole team trusts, with clean records every day and payroll that adds up every month.
Set Up Attendance with Attendi
Attendi is an attendance management platform built for Indian businesses, with face recognition, QR code attendance and field attendance in one place. Its custom settings let you configure shifts, grace time, late marks, half days, leave and holidays to match your policy, and check-ins sync in real time to a central dashboard. Working hours and overtime flow into payroll, and employees can view their own records from their phone. If you’re setting up attendance for your team, explore Attendi and see how quickly you can get started.
Frequently Asked Questions
How long does it take to set up a biometric attendance system?
A small office can usually be set up in a few days, including installation, connection, registration and rule setup. Add about a week of parallel running before going fully live.
Where should a biometric attendance device be installed?
At the main staff entrance, at a comfortable height, near a power point, with good lighting on the person’s face and protection from rain and direct sun.
Why are punches not showing in the attendance software?
Usually because of an internet problem, the device not being added or assigned correctly in the software, or sync settings being off.
How many fingers should be registered for each employee?
Register at least two fingers per person, so there’s a backup if one finger is injured or doesn’t read well.
Do I need employee consent before registering biometrics?
Yes. Biometric data is personal data, so inform employees about what’s collected and why, and take their consent before registering them.
Should I stop using the attendance register immediately?
No. Run the register and the biometric system together for about a week, check that the data matches and then switch over fully.
What should I check if late marks look wrong?
Check the device’s date, time and time zone, then check each employee’s assigned shift and grace time in the software.